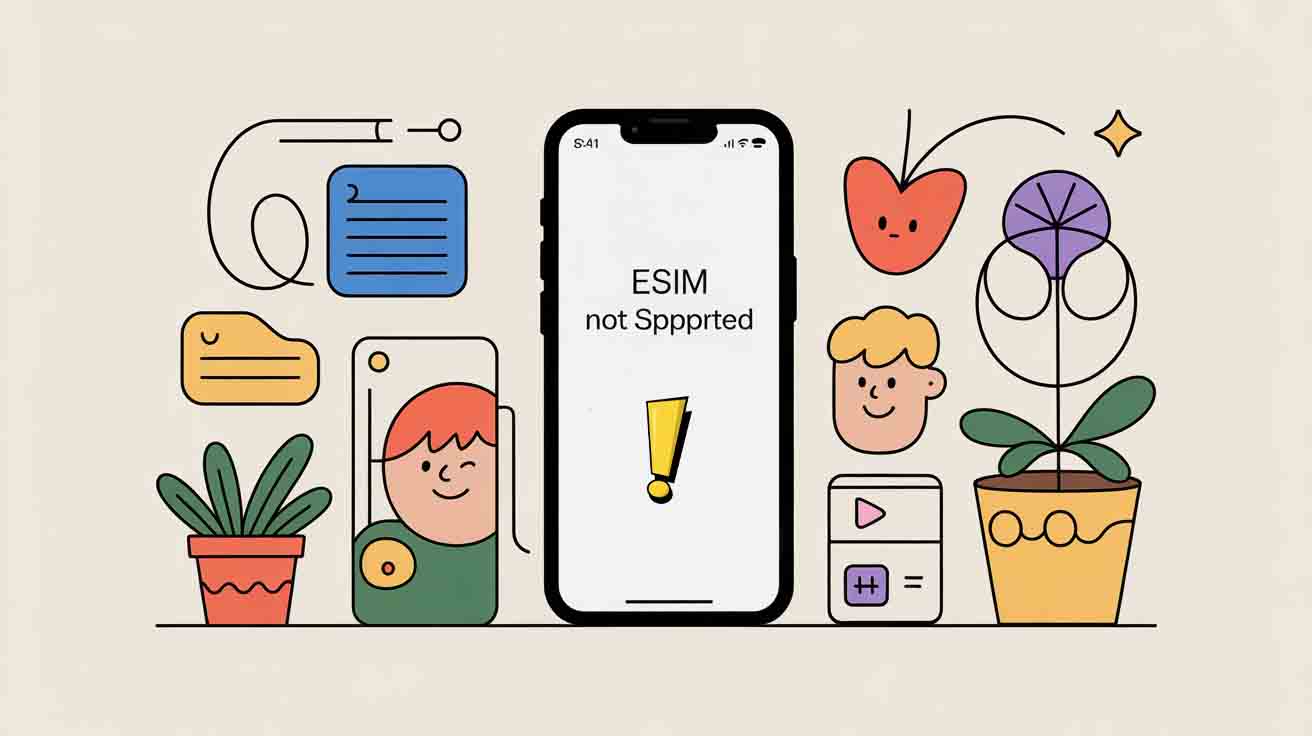
If your iPhone displays the “eSIM not supported” message, it can be inconvenient—especially when you’re trying to get online while traveling. In this article, we’ll walk you through what’s behind the error and how to get your eSIM working again.
1. Reasons why your phone show "eSIM not supported" error
This error usually appears when your iPhone cannot recognise or use an eSIM properly. In most cases, it is linked to device compatibility, network restrictions, or system settings.
1.1 Your iPhone model does not support eSIM
Not all iPhones support eSIM. If you are using an older model, your device may only work with a physical SIM card, which will automatically trigger the “eSIM not supported” error when you try to activate one.
Apple introduced eSIM support starting from the iPhone XS, iPhone XS Max, and iPhone XR. Any model released before these does not have built in eSIM capability. In this case, there is no technical fix, as the limitation comes from the hardware itself.
If your iPhone does not support eSIM, the only option is to continue using a physical SIM card or upgrade to a newer iPhone model that is compatible with eSIM services. Before buying an eSIM plan, it is always a good idea to double-check your device model to avoid activation issues later on.
→ Find out about: How to Check If My Phone Is eSIM Compatible in Simple Steps
1.2 Your iPhone is carrier-locked
Carrier locked means your phone is restricted to one specific mobile network. When a device is carrier locked, it can only use SIM cards or eSIMs from the carrier that sold the phone. This is common with phones bought on contracts or installment plans, where the carrier limits network access until certain conditions are met.
For example, if your iPhone is carrier locked to a local operator, you will not be able to use a travel eSIM or a SIM from another network. Even if you install the eSIM correctly, it may fail to activate or show no signal.
To use eSIMs from different providers, your phone must be carrier unlocked. An unlocked phone can connect to any compatible network worldwide, making it suitable for international travel and global eSIM plans.
You can usually check this on an iPhone by going to Settings > General > About and looking for the carrier lock status.
→ Read more about: How to Unlock eSIM on iPhone: Step-by-Step Guide
1.3 VPN is enabled on your device
If a VPN is enabled on your device, it can interfere with how an eSIM connects to the local network. Some eSIMs rely on direct access to regional mobile networks, and a VPN may block or reroute that connection, causing activation or data issues.
When a VPN is turned on, your internet traffic is redirected through a remote server. This can confuse the network during eSIM setup, leading to problems such as failed activation, unstable data, or no connection at all. In some cases, the eSIM may appear installed but may not be able to access mobile data.
If you experience connection issues, try temporarily turning off your VPN and restarting your phone. Once the eSIM is fully activated and working normally, you can switch the VPN back on if needed.
For the best results, always disable VPN services during eSIM installation and initial activation, especially when connecting to a new network abroad.
1.4 iOS version is outdated
An outdated iOS version can cause problems when installing or using an eSIM. Apple regularly updates iOS to improve network compatibility, security, and eSIM support. If your device is running an older version, it may not fully support newer eSIM profiles or network settings.
When iOS is not up to date, you may see issues such as failed eSIM installation, activation errors, or unstable mobile data. In some cases, the eSIM may not appear correctly in your cellular settings at all.
To avoid these problems, make sure your iPhone is updated to the latest available iOS version before installing an eSIM. You can check this by going to Settings > General > Software Update. Updating your device ensures better compatibility with global networks and helps your eSIM work smoothly while travelling.
2. How to fix “eSIM not supported” on iPhone
If you are seeing the “eSIM not supported” error, the good news is that it can often be fixed with a few simple checks.
2.1 Check if your iPhone supports eSIM
Go to Settings > General > About and check your iPhone model name. Then verify whether your model supports eSIM.
If your iPhone is iPhone XS, iPhone XS Max, iPhone XR, or any newer model, it supports eSIM and you can continue with the next troubleshooting steps.
If your model does not support eSIM, the “eSIM not supported” error cannot be resolved on this device. In this case, continue using a physical SIM card or switch to a newer iPhone that supports eSIM.
2.2 Make sure your iPhone is not carrier-locked
To check your lock status, go to Settings > General > About and look for Carrier Lock. If it shows “No SIM restrictions”, your iPhone is unlocked and ready for international eSIM use. If it shows “SIM locked”, you will need to contact your original carrier and request an unlock before using a travel eSIM.
2.3 Make sure your carrier supports eSIM services
Even if your iPhone supports eSIM, some carriers may restrict eSIM functionality, especially on devices that are carrier-locked or tied to specific mobile plans. These restrictions can interfere with installing or activating a travel eSIM.
If your iPhone is locked to a carrier, eSIMs from other providers may fail to activate or show no signal, even when installed correctly. In some cases, carrier restrictions can also cause conflicts between your primary SIM and a travel eSIM.
To avoid these issues, confirm that your iPhone is fully unlocked and not limited by carrier restrictions. If you’re unsure, contact your original carrier to check whether your device allows eSIMs from other providers before installing a travel eSIM.
2.4 Update your iPhone OS to the newest version
Open Settings > General > Software Update and check for available updates.
If an update is available, install the latest iOS version and restart your iPhone before trying to install or activate the eSIM again.
Keeping your iPhone updated helps prevent installation and activation issues and ensures stable connectivity when using eSIMs on different networks and in different countries.
2.5 Turn off VPN and try again
If your eSIM is not working as expected, turn off the VPN and restart your iPhone. Then try activating the eSIM again or reconnecting to mobile data. In many cases, the connection will work normally once the VPN is disabled.
After the eSIM is fully activated and stable, you can switch the VPN back on if needed. For the best results, always keep VPN services turned off during eSIM installation and initial setup.
We hope this guide helps you resolve the “eSIM not supported” error and get connected without further issues. If the problem persists, don’t hesitate to contact your eSIM provider for additional support and assistance.
|
DJB eSIM offers reliable global and regional eSIM solutions designed for international travel. With coverage in over 90% of destinations worldwide, DJB provides Global Unlimited and Regional plans for Asia, Europe, the Americas, and Oceania. eSIMs are delivered instantly via email and activated easily using a QR code, with flexible data options and 24/7 multilingual customer support to help you stay connected wherever you go. |
Share:
Accidentally Deleted eSIM? Here's What to Do Next
eSIM Connected but No Internet? Here’s How to Fix